SmolSlimeConfigurator
Pure Simple UI Configurator for SlimeVR Smol Slimes (Unofficial) Github page: SmolSlimeConfigurator
Features
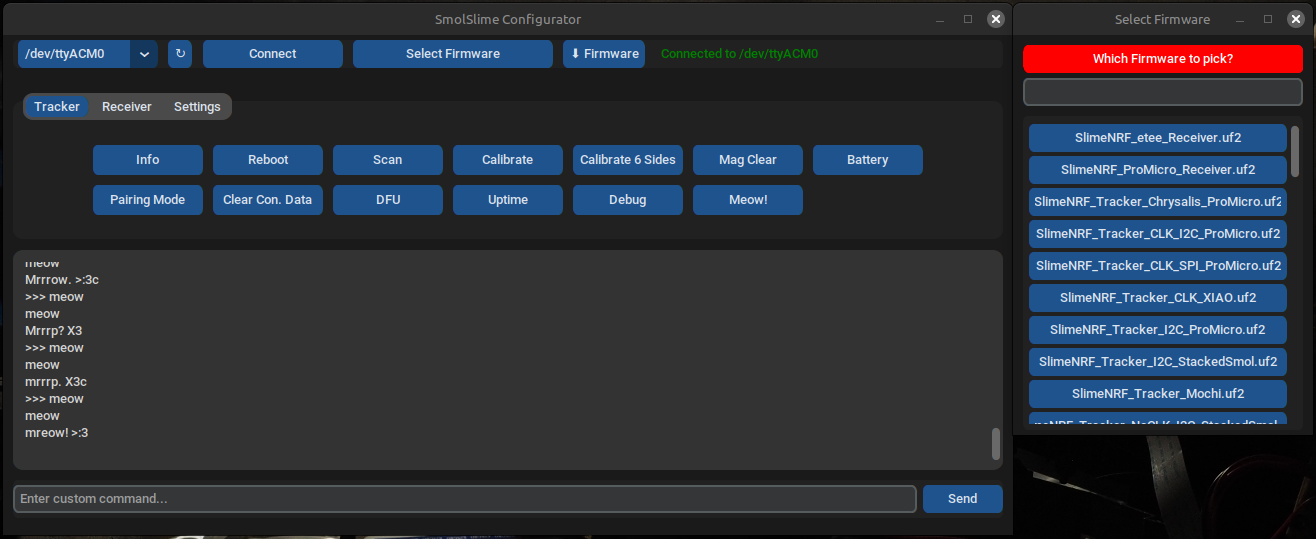
- Easy-to-use interface — clean, modern, simple to use, with helpful tooltips.
- Effortless configuration — one-click buttons for calibration, pairing, and more.
- Automatic firmware updater — plug your tracker in via USB, select your firmware type, and flash the latest build instantly.
- Always up to date — the firmware list automatically fetches the latest daily builds from GitHub.
- Custom firmware support — flash your own
.uf2or.hexfiles with ease (now supports all dongles and trackers). - Favorites system — star your most-used firmware versions by right-clicking (middle-click on macOS).
- Cross-platform — available for Windows, Linux, macOS, and Android.
- Theme customization — switch between light/dark mode and choose your favorite accent color.
Download
There are two options to run the Configurator:
- Single-file executables are available from Releases (Windows, Linux, macOS, Android).
- Python file from the uploaded files above.
- To build it from source, run:
pyinstaller --onefile --windowed --icon=icon.png --add-data "icon.png:." --add-binary "/Location/To/UR/NameOfVenv/bin/nrfutil:." SmolSlimeConfiguratorV8.py
Note: You must use a virtual environment, must use Python 3.10.x, and change the icon file extension to .icns on macOS or .ico on Windows.
Instructions
Note: There is a video tutorial explaining general usage, and this video covers Android usage in detail.
First install
- Plug in the tracker or receiver and press reset twice. On boards without a reset button, hold one side of a wire on the RST pin
 and double-tap a GND pin (the USB-C connector on the Nice!Nano/ProMicro)
- Press "↻" refresh, then select the port from the dropdown menu on the left of the refresh button, then press "Connect"
- Select the version of hardware from the dropdown menu called "Select Firmware", press "⬇ Firmware", Wait ~20 seconds, the tracker will flash.
Pairing
- Plug in your receiver, press "↻" refresh, select the port, then press "Connect".
- To configure your receiver, select the receiver tab, press pairing mode, and power on each receiver one by one. You should notice
 the trackers being added. Once all trackers have been paired, press "Exit Pairing Mode".
Calibration
- Plug in a tracker, press "↻" refresh, select the COM port, and press "Connect". Press "Calibrate 6 Sides" and follow the terminal instructions.
- Then press "Calibrate", leave the tracker on a desk for ~5 seconds, and you're done! Note: You can also double-tap the tracker's button instead of pressing "Calibrate".
Updating Firmware
- Connect to the port, select the firmware, press "⬇ Firmware" and wait ~20 seconds.
Note: Trackers and receivers must all be updated to the same version, or they will not pair.